How to create a custom interactive map with Webflow CMS
- Nan Zhou
- May 31, 2024
- 3 min read
Updated: Apr 2
Are you looking to enhance your website with a custom interactive map but hesitant due to coding limitations? Look no further! With the rise of no-code solutions, building and integrating a custom map has never been easier. This guide will walk you through creating a unique, interactive map that is fully integrated with Webflow CMS without the need for any coding.

Getting Started with No Code Map App
No Code Map App is a simple, yet powerful tool designed to empowers professionals to create dynamic and engaging interactive maps without the hassling of custom code. It is the only no code map builder fully integrated with Google Sheets, Airtable and Webflow CMS.
For all you Webflow users, existing map builders for Webflows only allow you to create a pretty, but functionally basic pin map, which is not sufficient for today's internet users. Adding an engaging, custom interactive map to your Webflow website, you can offer your audience an immersive experience that seamlessly integrates with your CMS.
No Code, No Problem : With No Code Map App's user-friendly interface, you can design and build your map with just a few clicks. No coding knowledge required and all it takes is just a few minutes
Customize to Your Heart's Content : Tailor every aspect of your map to align with your brand's aesthetics and storytelling. From colors, to markers, to engaging media, to custom filter and calls-to-action, make it truly unique to your business
Integration with Webflow CMS : With No Code Map App's auto data sync feature, you can easily manage and update your map, ensuring a seamless experience for your users.
Building Your Custom Interactive Map
If you haven't already, create a No Code Map App account and familiarize yourself with the platform. Utilize No Code Map App's intuitive tools to build a fully integrated, custom interactive map is as simple as 1, 2, 3.
Select a template from our library of templates
Connect your Webflow CMS
Customise your map
I. Choose a Template
Choose a template from our library of templates for your use-case. When in doubt, just use the General template, it can handle pretty much any dataset.

II. Connect your Webflow CMS
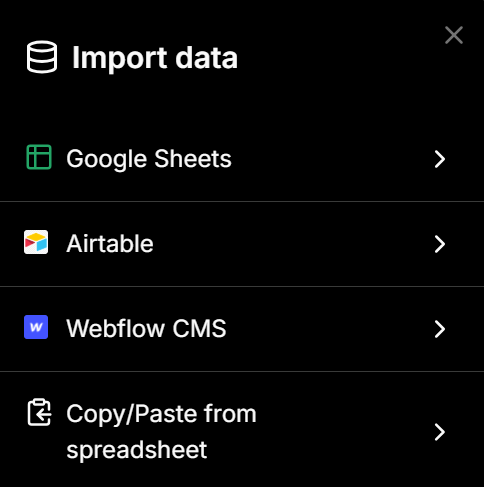
Click on "Webflow CMS" as your method of data import.
Enter your Webflow API token and Collection ID.
Select which data fields you want to import
Select data sync frequency
Click on "Map My Data"


Our builder will then automatically map your data and everything will be auto-generated, including image, audio, map filters, calls-to-action etc.
No Code Map App is also the only map builder that allows automatic data sync so you can easily manage and update your map!
III. Customise
You can customise your map to your preferred marker, color, font, zoom level, and search bar setting etc. More importantly and uniquely to us is you can customise your data display, map filters and call-to-action buttons. You can pretty much use any third party tool link as your conversion action.

With the right map filter and conversion action, you can link your interactive map with your other business tools (like Google Form, Stripe, PayPal, Calendly), and turn your interactive map into a lead or revenue generator with buttons like:
Buy or pay
Subscribe
Contact
Fill in a form
Bonus!
How to configure custom domain / slug URL for Webflow CMS
In addition to the standard data fields, you can also configure your own custom domain / slug URL as a part of our Webflow CMS integration. Once configured, it would automatically create a CTA in your map that takes users to each individual page you have set up in Webflow.

Give it a try!
Nan


コメント