How to create a custom interactive map with your Webflow CMS
- Nan Zhou
- Aug 9, 2022
- 2 min read

Updated: Apr 5, 2025
Over the weekend, we rolled out our Webflow CMS integration. This means you can now create a fully customisable interactive map with location pins, map filters and call-to-action buttons in minutes! This is particularly exciting for us because it is the first full-featured custom map builder that is fully integrated with Webflow CMS.
Build a custom interactive map with Webflow CMS without any coding.
Create a No Code Map App account
Create a new map and choose a map template
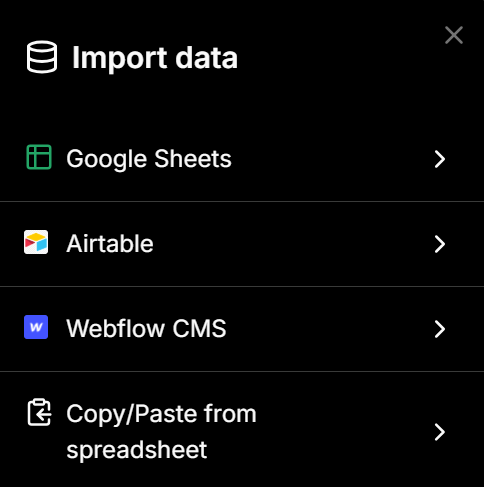
Under "Import Data", select Webflow CMS option.
Enter your Webflow API token and Collection ID, and set up automatic data sync
Select the data fields you want to import, and click on "Map My Data"
Customise the map to match your branding
I. Choose a Template
Choose a template from our library of templates for your use-case. When in doubt, just use the General template, it can handle pretty much any dataset.

II. Connect your Webflow CMS
Click on "Webflow CMS" as your method of data import.
Then all you need to do is enter your Webflow API token and Collection ID, and select auto data sync frequency. That's it!

Our map builder is so intelligent you can include any kind of data in your dataset including address or coordinates, website, phone, text, number, dates and even links to third party tools like online forms, Stripe payment links, PayPal payment links, Calendly etc.
Upon importing, we will show all of your data columns and for each map you can choose up to 50 columns of data. After that, our builder will automatically convert your data into an interactive map instantly!
III. Customise
You can customise your map to your preferred marker, color, font, zoom level, and search bar setting etc. More importantly and uniquely to us is you can customise your data display, map filters and call-to-action buttons. You can pretty much use any third party tool link as your conversion action.

With the right map filter and conversion action, you can link your interactive map with your other business tools (like Google Form, Stripe, PayPal, Calendly), and turn your interactive map into a lead or revenue generator with buttons like:
Buy or pay
Subscribe
Contact
Fill in a form
How to configure custom domain / slug URL for Webflow CMS
In addition to the standard data fields, you can also configure your own custom domain / slug URL as a part of our Webflow CMS integration. Once configured, it would automatically create a CTA in your map that takes users to each individual page you have set up in Webflow.
Nan


Comments