How to build a store locator with Webflow CMS
- Nan Zhou
- Apr 2, 2025
- 2 min read


Embedding a store locator on your website can help you get closer to your customers and help them find your product and services quick.
No Code Map App can help you build a beautiful, engaging store locator tailored to your business information in minutes. Unlike the other store locator builders where you need to enter location details and category tags individually. With us, all you need to do is connect your data source, and our map builder will intelligently "read" your dataset and instantly build a customisable store locator tailored to your unique dataset.
In this guide, we will show you how to create a high converting store locator with your Webflow CMS, including automatic data sync so all future updates are automatically synced.
How to build a custom store locator with Webflow CMS
Create a No Code Map App account
Create a new map and choose the Store Locator template
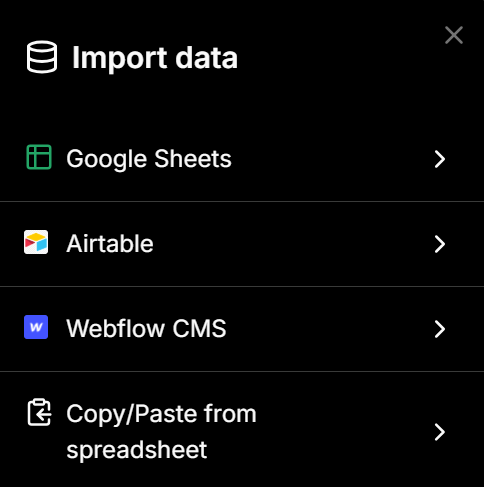
Under "Import Data", select Webflow CMS.
Enter your Webflow API token and Collection ID, and set up automatic data sync
Select the data fields you want to import, and click on "Map My Data"
Customise the map to match your branding
How it works?
Step 1 - Create an account at https://www.nocodemapapp.com/
Step 2 - Create a new map and choose the Store Locator template

Step 3-5 - Sync data from Webflow CMS
Click on "Import data" and select the Webflow CMS option.
Enter your Webflow API token and Collection ID.
Select your auto data sync frequency (monthly, weekly or daily etc)
Select the data columns you want to import (up to 50 columns)
Click on the "Map My Data" button and a map will be generated for you in a few minutes depending on your data size


Step 6 - Customise your map
You can customise it further to match your branding and style preferences. You can customise everything from list view, to map filters, to map markers, popup box and more.

For example, in this Costco sample map we made based on their store information, we used 3 customisations:
Under "Map markers", we used Costco logo as location marker.
Under "Calls-to-action", we added 2 calls-to-action buttons - "Get directions" and "Special Deals".
We have one map filter "Warehouse Services" which was auto-generated based on the data.


More tips
How to update data
If you don't want to use the auto data sync feature, you can also manually sync.
Go to "Reselect data", and
Click on "Sync the latest data".
How to change file link
If you want to change the Webflow CMS, simply click on the "Remove sync" button then you will be able to add in a new file URL.


Comments