How to build a custom interactive map with Airtable data
- Nan Zhou
- Apr 3, 2025
- 2 min read

Updated: Apr 4, 2025

In today's fast-paced digital world, grabbing your audience's attention is crucial. As a business owner or website manager, your aim is to capture interest, engage users, and ultimately convert visitors into loyal customers.
One excellent way to achieve this is by integrating an interactive map into your website. This dynamic tool not only elevates user experience but also provides practical functionality.
In this guide, we will show you how to create a custom interactive map with your Airtable, including periodic and real-time data sync so all future updates are automatically synced.
How to build a custom interactive map with Airtable
Create a No Code Map App account
Create a new map and choose a map template for your use case
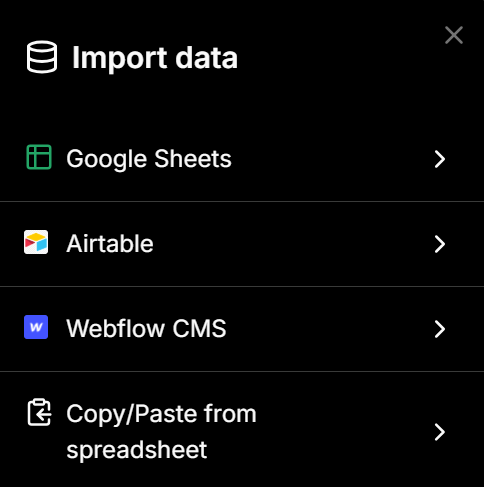
Under "Import Data", select Airtable.
Enter your Airtable Personal Access Token and Airtable URL, and set up automatic data sync
Select the data fields you want to import, and click on "Map My Data"
Customise the map to match your branding
How it works?
Step 1 - Create an account at https://www.nocodemapapp.com/
Step 2 - Create a new map and choose a map template

Step 3-5 - Sync data from Airtable
Click on "Import data" and select the Airtable option.
Enter your Airtable Personal Access Token and Airtable URL.
Select your auto data sync frequency (monthly, weekly, daily or real time)
Select the data columns you want to import (up to 50 columns)
Click on the "Map My Data" button and a map will be generated for you in a few minutes depending on your data size


You can also manually sync your data by clicking on "Sync the latest data". If you want to change your Airtable URL, simple click on "Remove data sync" and repeat Steps 3-5.

Step 6 - Customise your map
You can customise it further to match your branding and style preferences. You can customise everything from list view, to map filters, to map markers, popup box and more.


For example, in this Costco sample map we made based on their store information, we used 3 customisations:
Under "Map markers", we used Costco logo as location marker.
Under "Calls-to-action", we added 2 calls-to-action buttons - "Get directions" and "Special Deals".
We have one map filter "Warehouse Services" which was auto-generated based on the data.


More tips
How to set up real-time data sync

How to create your Airtable Access Token for Real-time Sync
Airtable has deprecated usage of API Keys since Feb 2024. New integrations shall use Personal Access Tokens going forward and it's 100% compatible with us.
You need to create a new Personal Access Token instead (above the "Developer Key" item in the menu) . The new token has a format of "patXXXXX" and is much longer than the old keys.
When it asks you to set permission scopes, can you set the scope to. Please make sure you configure to allow webhook.create permission.


Comments